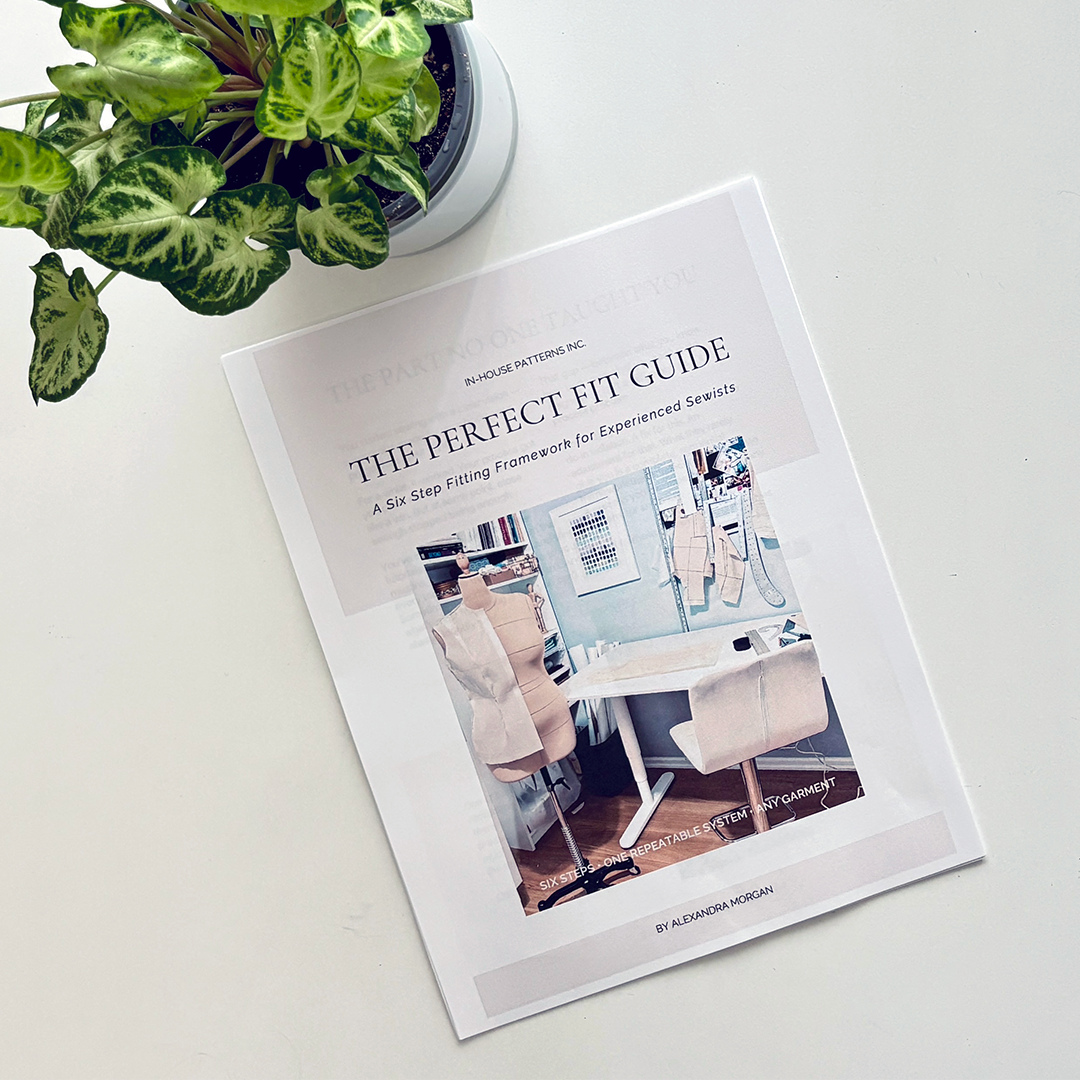
In Fitting Fashion
Lessons, Techniques, and Inspiration for Mastering the Art and Science of Fit
I had a strange thought.
It began with freckles.
Here's how that thought led to a simple way to understand why we struggle so much with fitting our garments.
Without order, fitting is nearly imposs...
This week I’ll be showing you how to find the balance lines on the In-House Patterns Ellen pants. If you’d like to follow along with your own version of the Ellen pant pattern you can find the pattern...
The most challenging thing about fitting pants is getting the patterns crotch curve to reflect the shape of the body it is being fit to. An ill-fitting crotch curve results in draglines, wrinkles and ...
This week we’re going to look a little closer at the rear view of our pants and discuss the full and flat seat fitting issues. These are what I like to call companion fit issues because the solutions ...
Pants are notoriously difficult to fit. Common knowledge in the garment sewing community for sure, and a sentiment that has most likely caused many to not even bother trying to sew pants. So let’s see...
Your First Steps to a Better Fit
If you’ve completely given up on sewing pants, you can be sure you’re not the only one. Fitting pants is not easy, fast or fun for most of us, but just in case you wa...
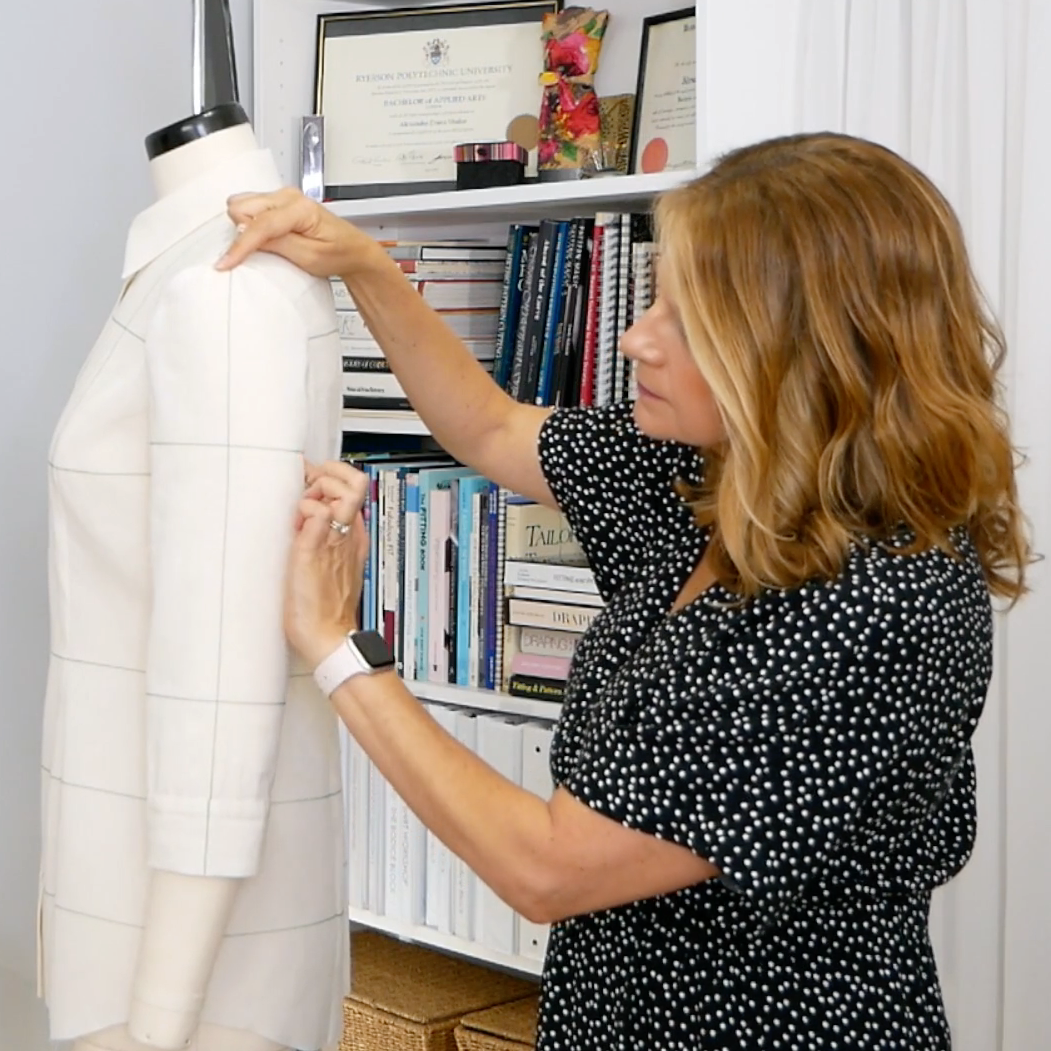
How to Adjust for Upper and Mid-Back Contour Shaping
If you’ve been noticing tightness across the upper back, a back neckline that drops too low, or shoulder seams that just don’t sit right, your pat...
If you’ve ever noticed gaping at the front armhole or drag lines across your bust in a t-shirt, chances are your knit pattern needs a cup size adjustment.
This is especially true if you’re above a B ...
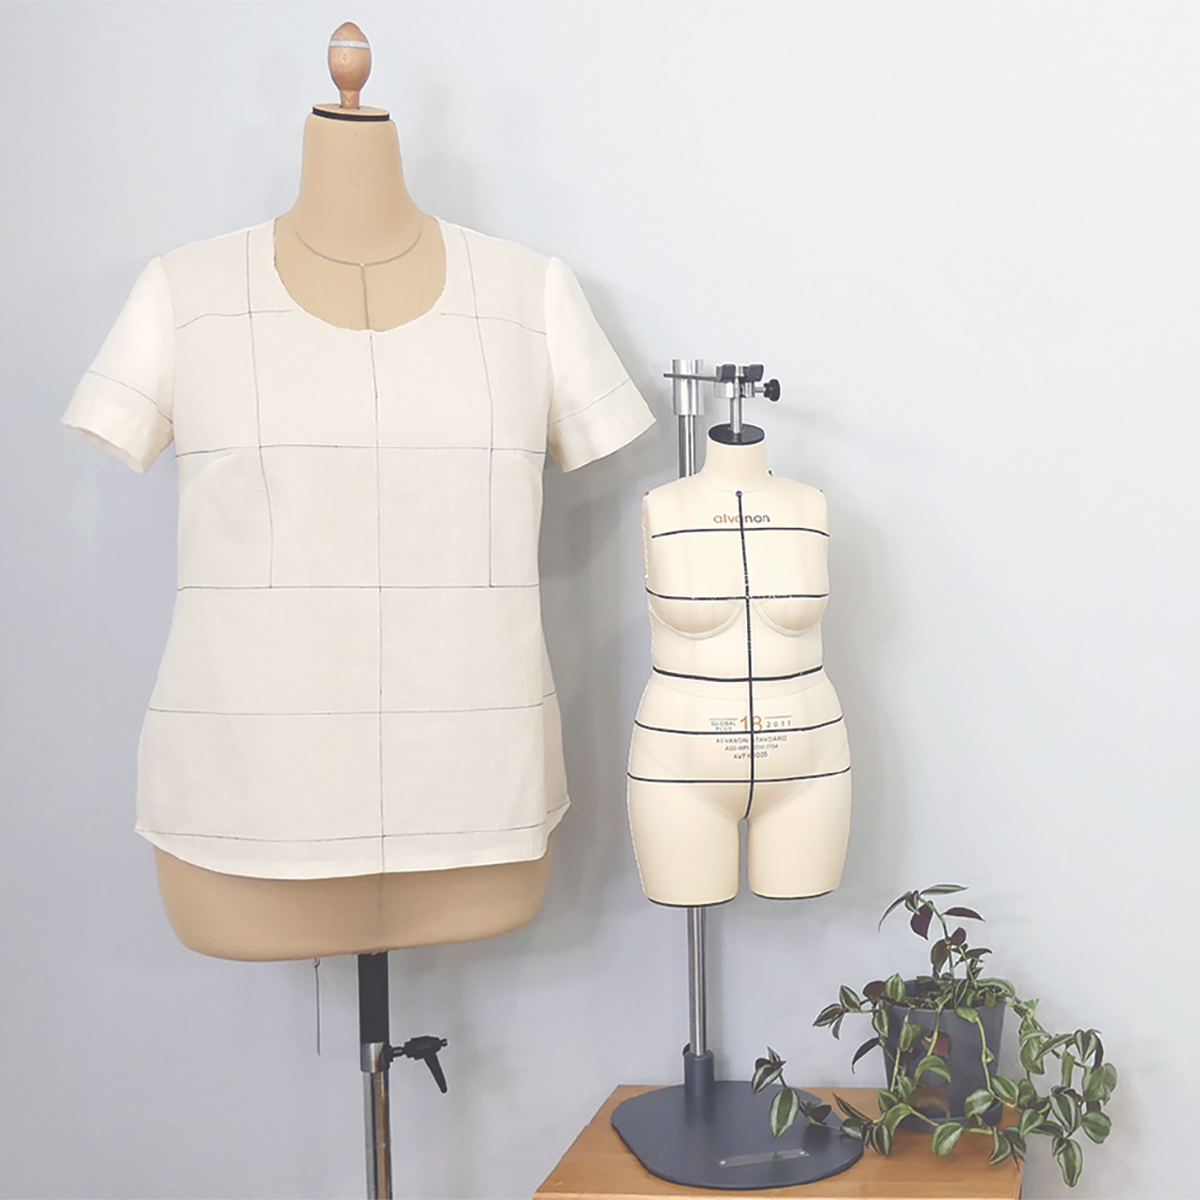
Understanding Ease in Knit Patterns: A Closer Look at the Jenny T-Shirt
When it comes to achieving a great fit, understanding garment balance and ease is essential—especially in knit fabrics.
This w...
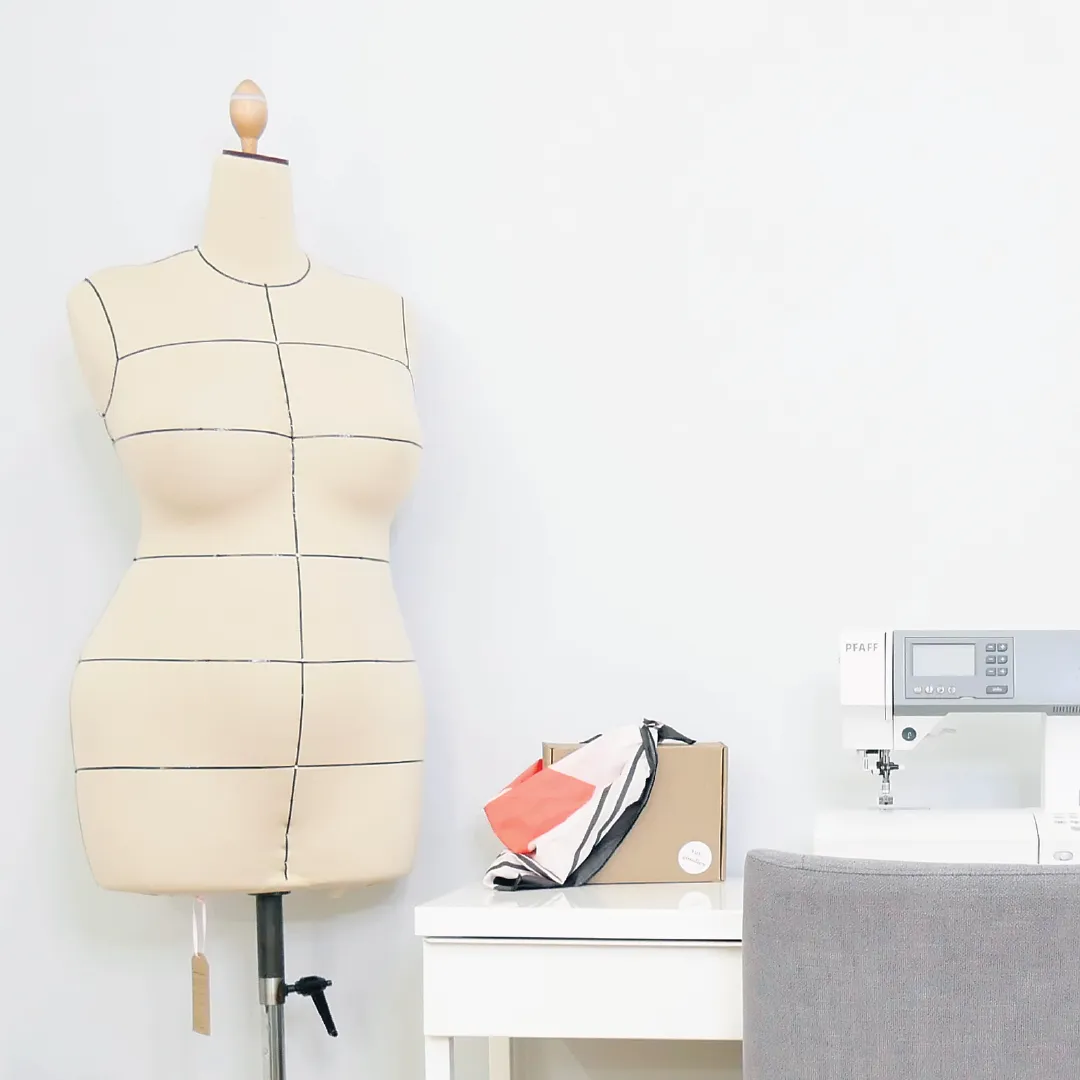
How to Find the Balance Lines on a T-Shirt Pattern
If you're sewing with knits and want to improve fit accuracy, marking balance lines on your pattern is a excellent first step. In this tutorial, I’l...