In Fitting Fashion
Lessons, Techniques, and Inspiration for Mastering the Art and Science of Fit
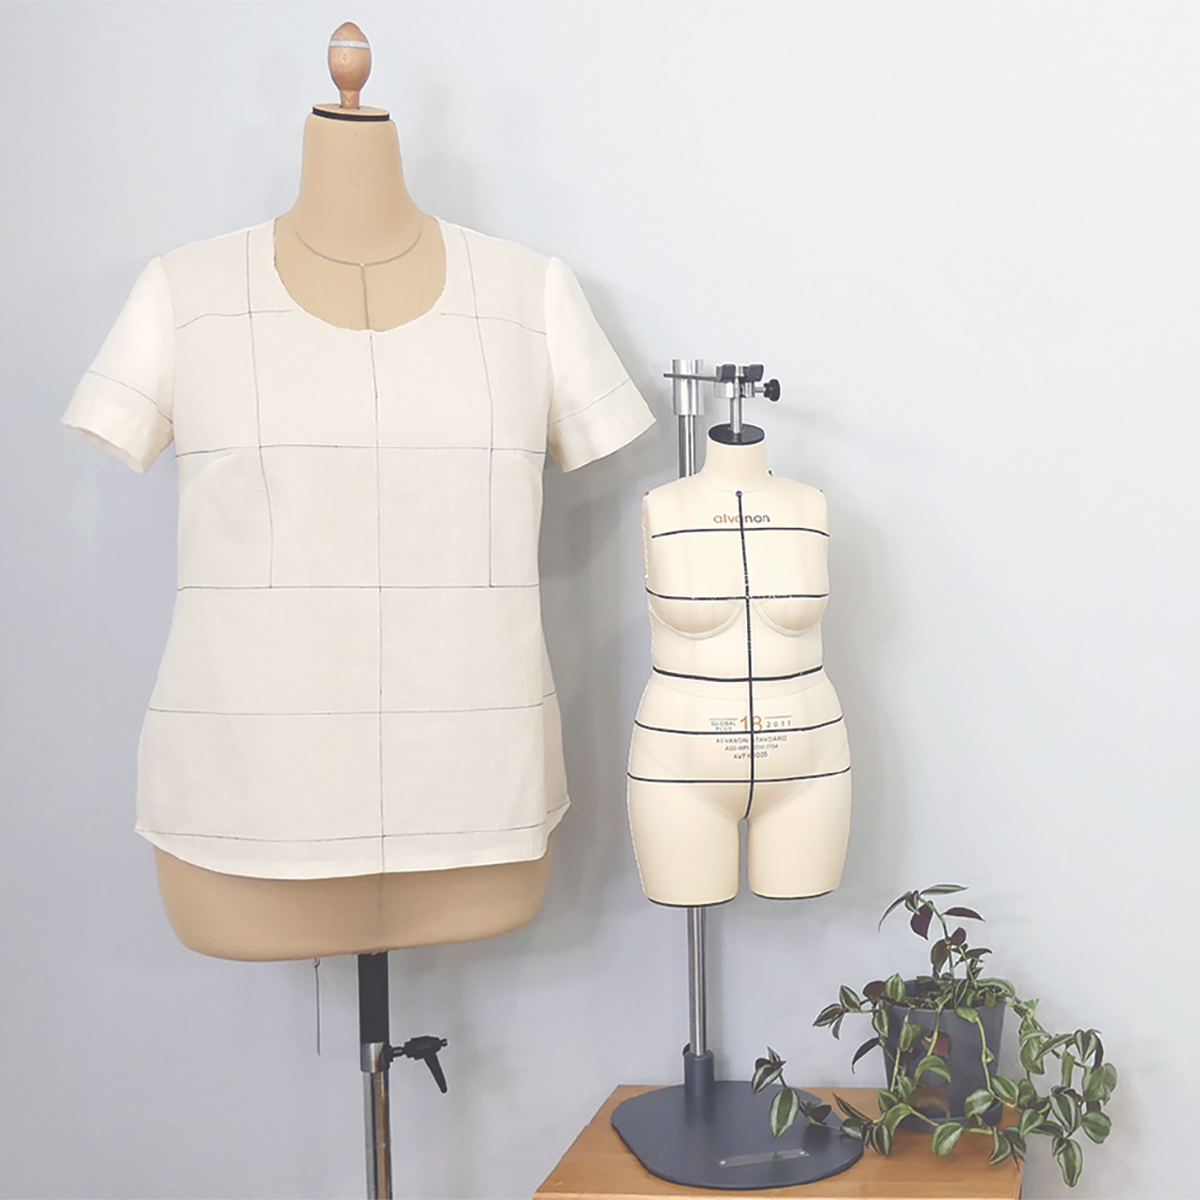
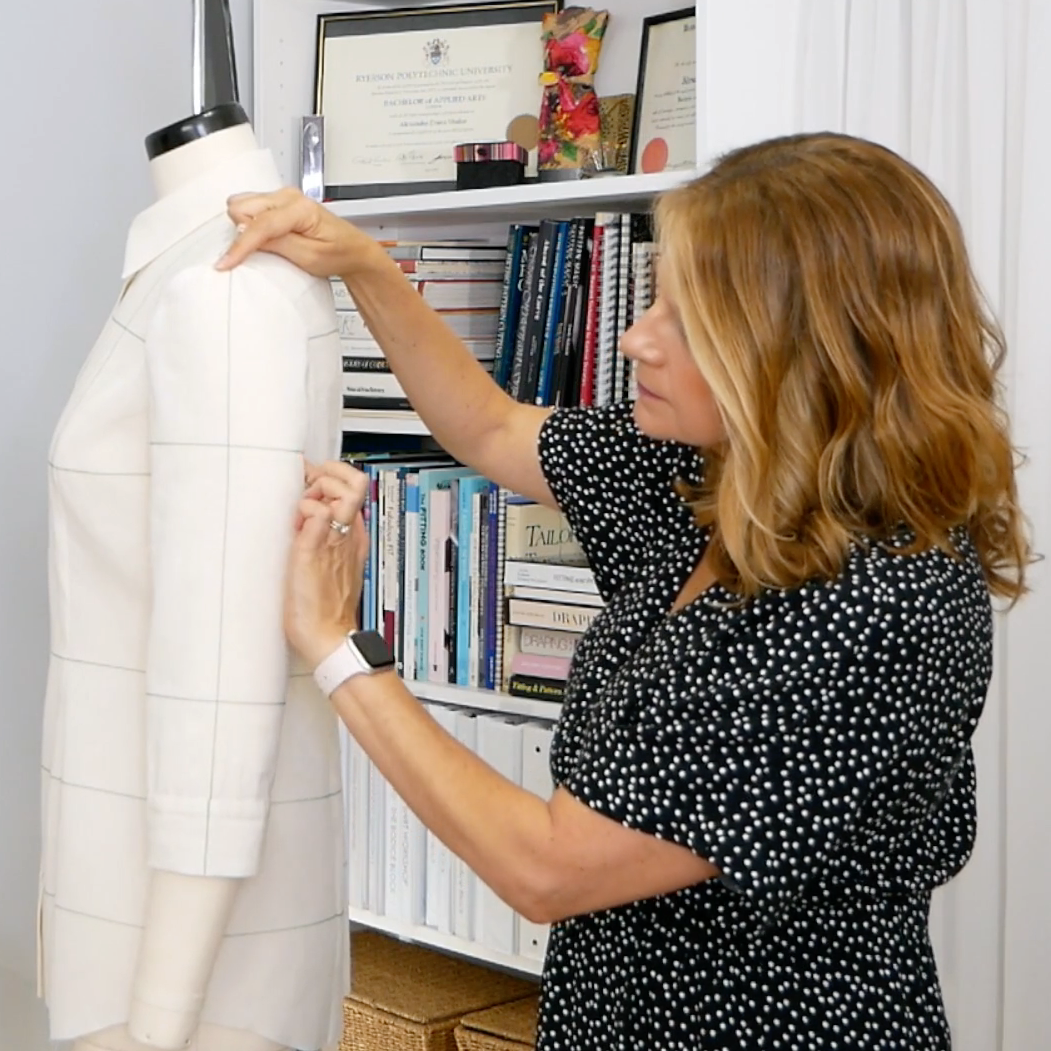
With fitting adjustments come pattern adjustments. To make those adjustments correctly, you need to understand how patterns work.
In this video, I cover two essential pattern manipulation techniques:...
Learn how to translate the pattern's shoulder slope information into your degree of shoulder slope using a long forgotten tool that I am pretty sure you'll find in your junk drawer or a family member'...
This week I've got a really quick video that I hope you’ll find truly helpful.
It answers a question from Kelly who wanted to know how to measure her shoulder slope. A quick google search will give y...
This week I wanted to share how to adjust the shoulder width on a garment with straps [featuring the In-House Patterns Sophie Dress].
I often see and hear comments on how making shoulder adjustments ...
If you followed through with all of the lessons in the Skirt Block Mini Class, you’ll already have a flared skirt pattern that you can use to follow along in this week’s project. If you haven’t creat...
Do you have a skirt block that you don't quite know what to do with? Or perhaps a straight skirt pattern that fits you perfectly that you'd like to use as a base for a new style? If that's the case, w...
Did you know I offer a Skirt Block Mini Class?
When you sign up you get access to the drafting instructions and 5 email lessons that guide you through how to use them.
If signed up for the mini cla...
Did you know that establishing a good fitting waistband is an important part of the fitting process for skirts and pants? Think about it, the waistband holds these garments up and secures them in plac...
They say it’s too complex—all that measuring and math. Why bother, when there are so many patterns that are inexpensive and ready-made?
Well, I’m here to tell you that creating a block pattern is no ...
Recently this question popped into my inbox: "How do I begin creating my own patterns that fit?" I get this question a lot so I thought it would be good to address it. In this video I'll share the ans...