In Fitting Fashion
Lessons, Techniques, and Inspiration for Mastering the Art and Science of Fit
Do you struggle with gaping necklines and armholes on your self drafted patterns? Would you like to fit your bodice more closely, or perhaps create a strapless bodice pattern? If so, this video is for...
This month I've turned the focus to fitting knits. I have covered the topic to some extent previously so if you want more information on this topic, just click on the "fitting knits" category in the s...
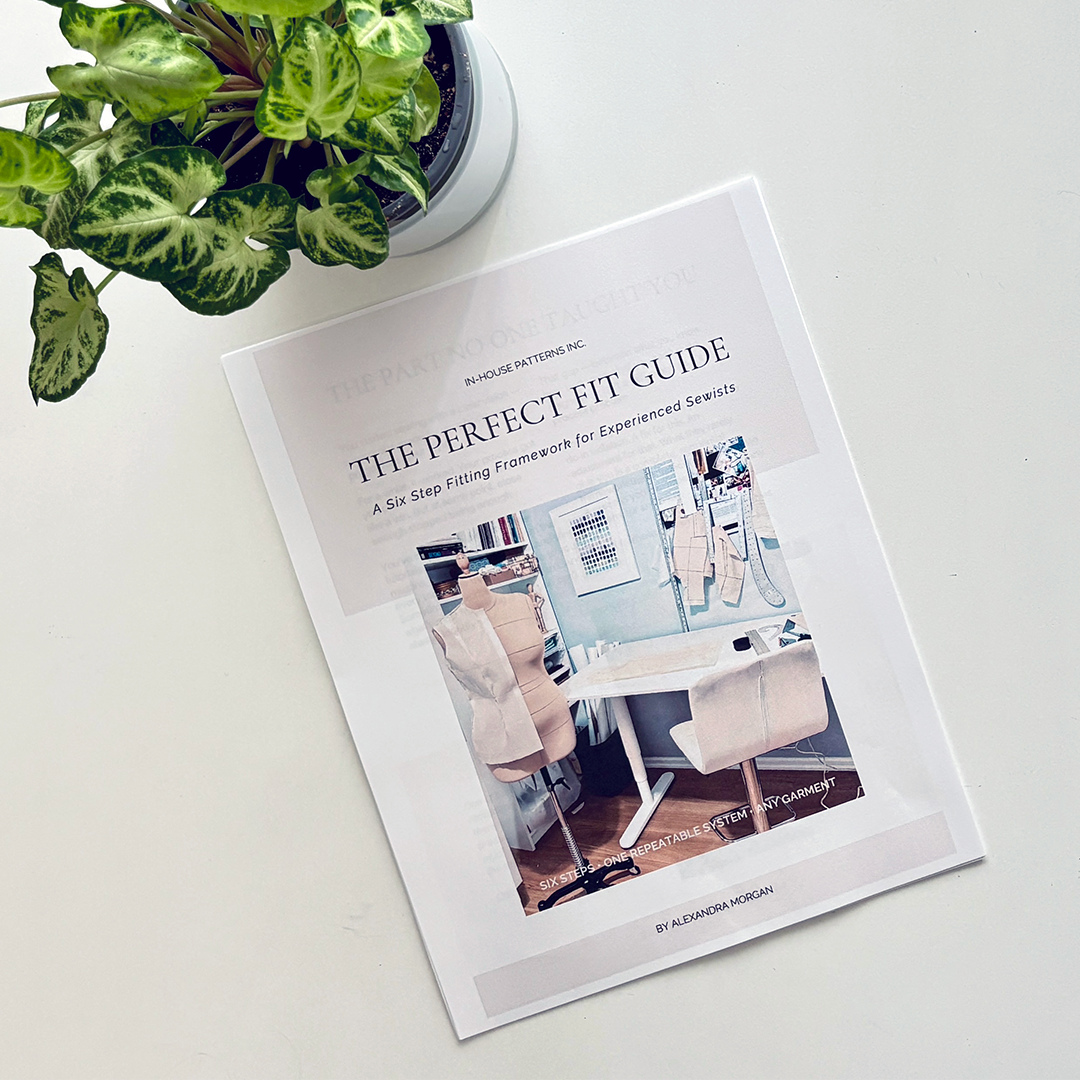
If you're familiar with my fitting methods and have downloaded your copy of The Perfect Fit Guide, you already know that understanding the balance of the garment on your body is the key to making a pa...
No doubt you've heard this cliche before: "practice makes perfect". Although this is generally used as a form of encouragement, I prefer the phrase practice makes progress.
Of course in order to make...
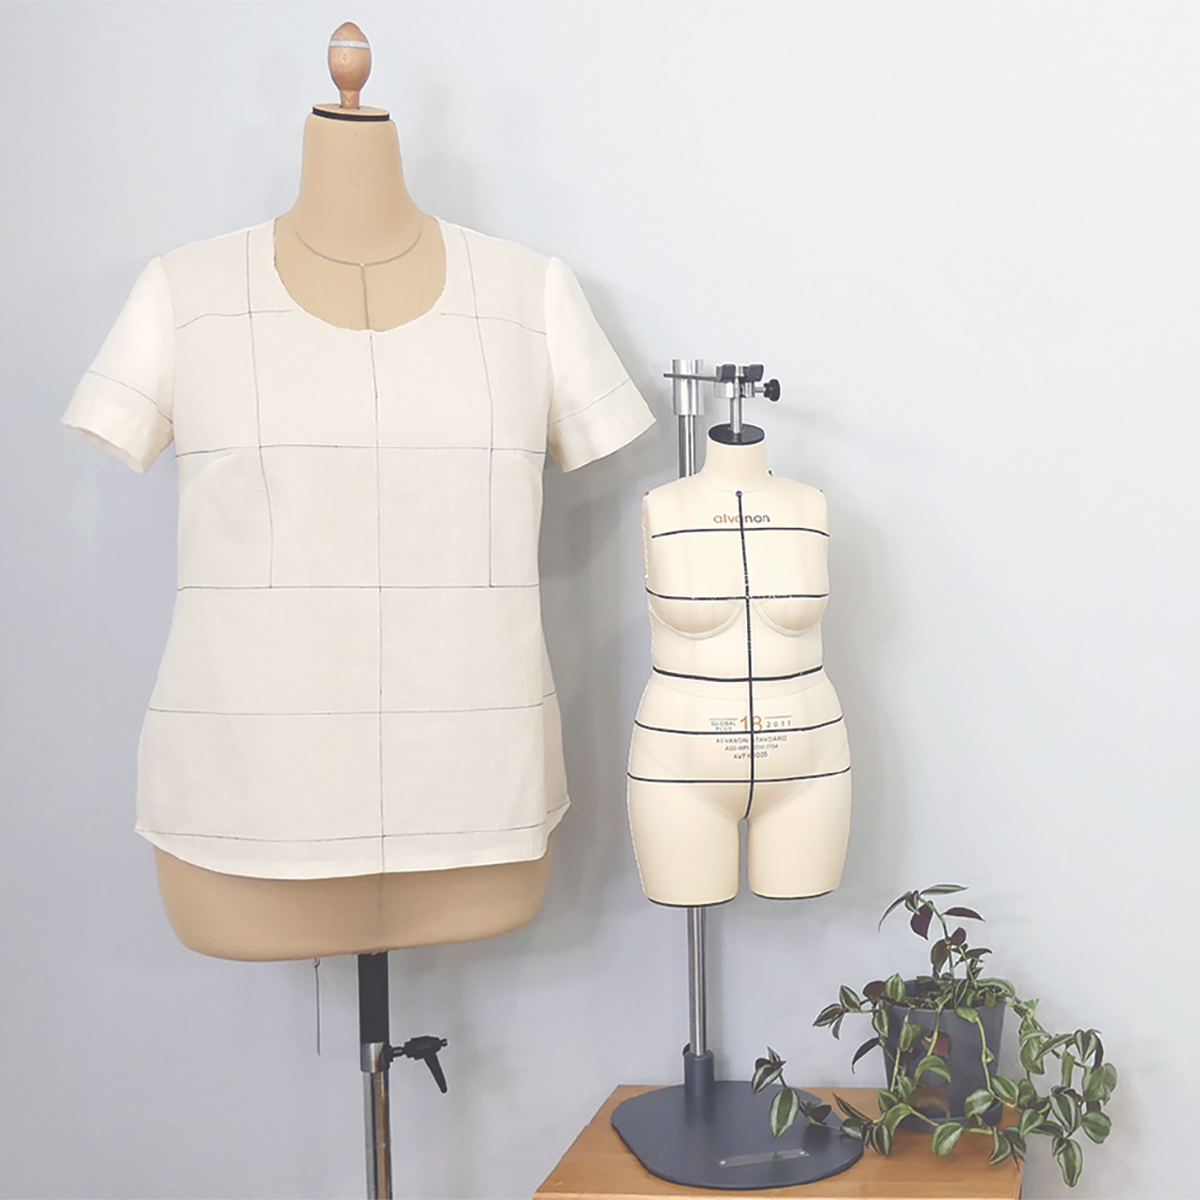
I have a very, very important concept that I want to share with you today. It is the concept of garment balance.
If you don't know me yet, my fitting philosophy is all about balancing the garment on ...
Last week, I shared the four stages you generally go through on the path to fitting mastery.
As you move along the path through the four stages you'll undoubtedly be confronted with failure. While we...
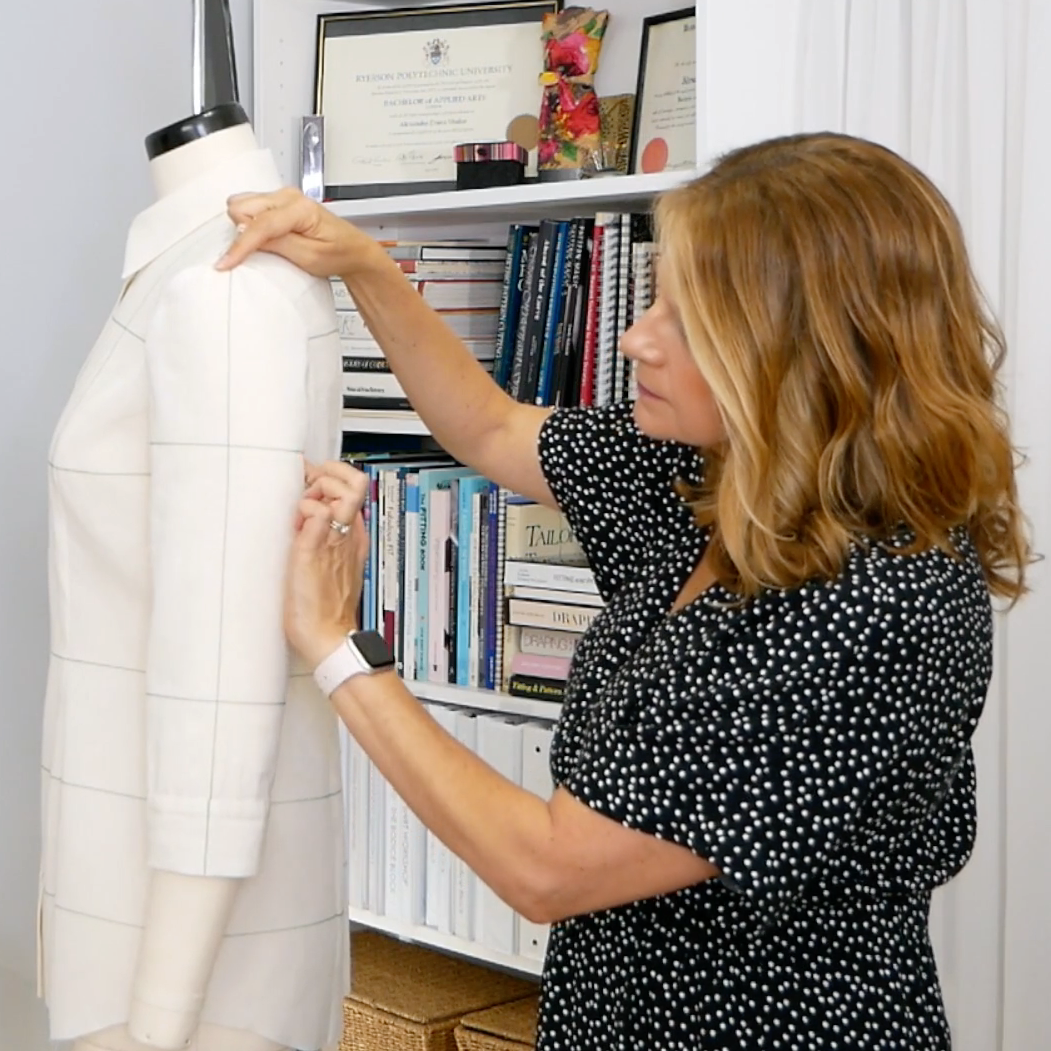
Last week I showed you how to prepare a commercial sewing pattern for fitting using a fairly straight forward shift style dress. Since the dress I used as an example was very similar to a basic block ...
Fitting is difficult. No number of fitting books, classes and guides you’ve purchased with the words Fast, Quick or Easy in the title, is going to change that fact. Fitting is a process that takes tim...
Mastering any skill can be a long road so I googled "the path to mastery" and landed on this article. It certainly provided some insight-especially about the 10,000 hour rule. If you're not familiar w...

Fitting is generally thought to be a trial-and-error process. There is seemingly no roadmap, no sequence of logical steps to follow and no hope of ever getting a pattern to fit you. I’d like to challe...