In Fitting Fashion
Lessons, Techniques, and Inspiration for Mastering the Art and Science of Fit

This week I waned to share something that might get you thinking about darts a little differently.
In the image above you'll see two different kinds of darts represented: visible and invisible darts....
Last week we talked about bust adjustments on a t-shirt pattern, this week I'd like to address how to handle back contour shaping. Age and posture can take a toll on the body and sometimes can result ...
This week’s video is a response to a special request from Linda who recently under went a double mastectomy. Since she still wants to sew the vintage patterns she’s collected over the years, she’d lik...
You probably already know that pattern companies usually supply a few finished pattern measurements on the outside of the pattern envelope. These usually include hem widths and total back length. Thes...
It’s a well known fact that most pattern companies provide very limited sizing information on their patterns. Sewers are asked to choose their pattern size using three main body measurements; bust, w...
Today is big reveal day!
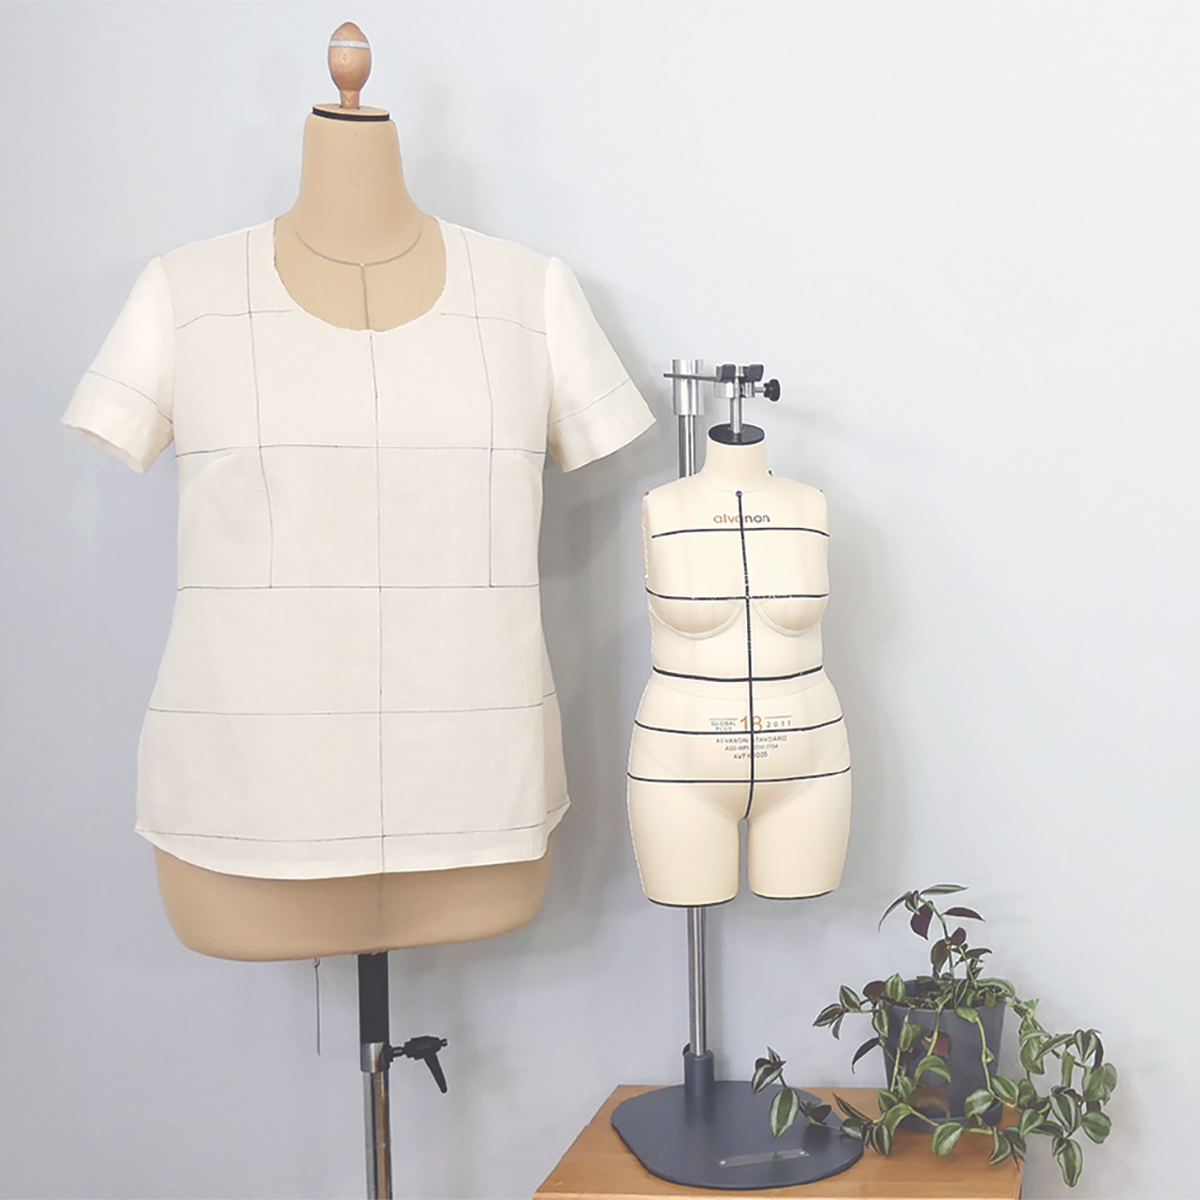
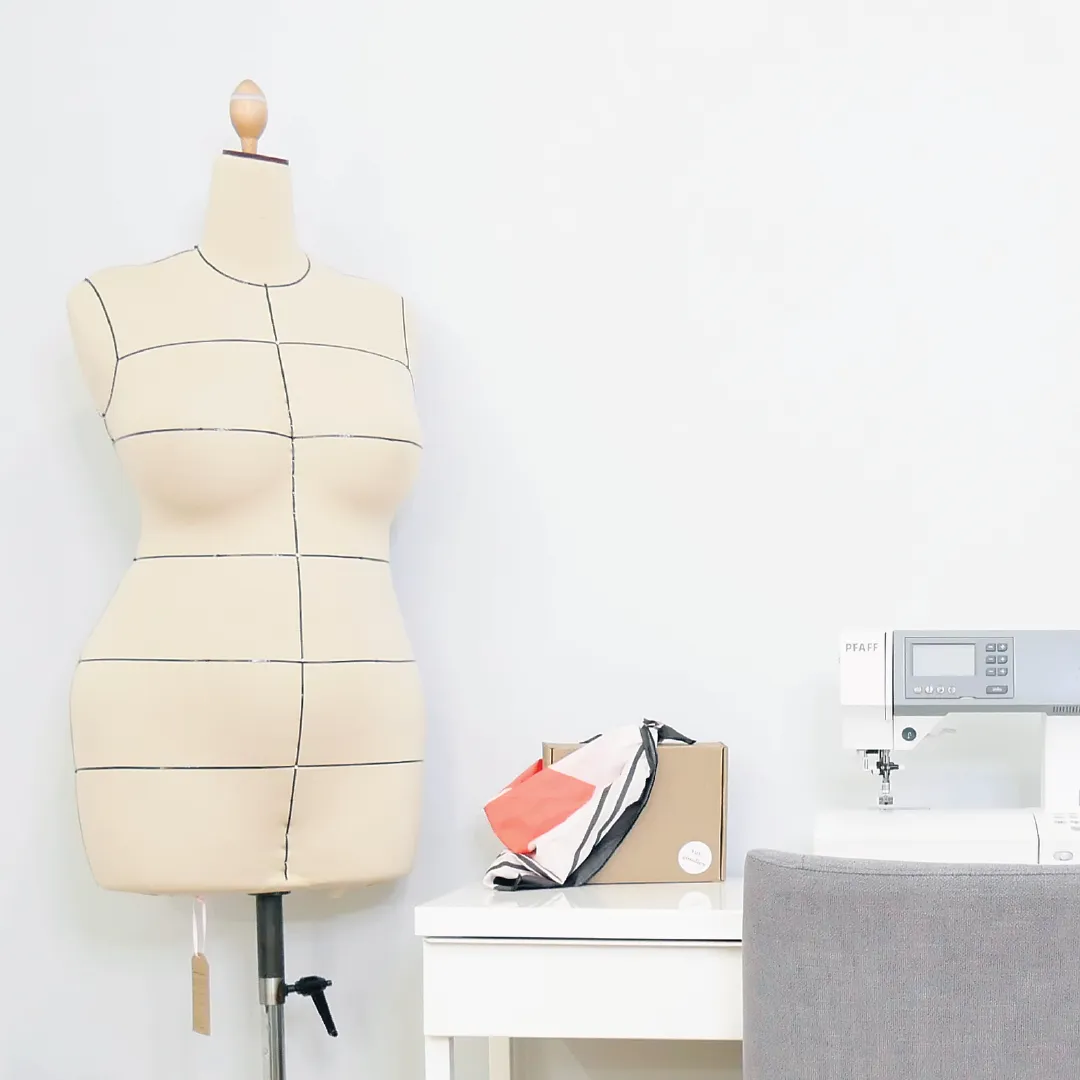
We’ve been diligently working on a little pattern making project that I’ve named Ava. While quite simple in nature, this little project is packed with pattern making tips, tr...
Designing your own patterns using a personal bodice block is guaranteed to eliminate the fitting frustration that can come along with using commercial patterns. However, having a basic block that fits...
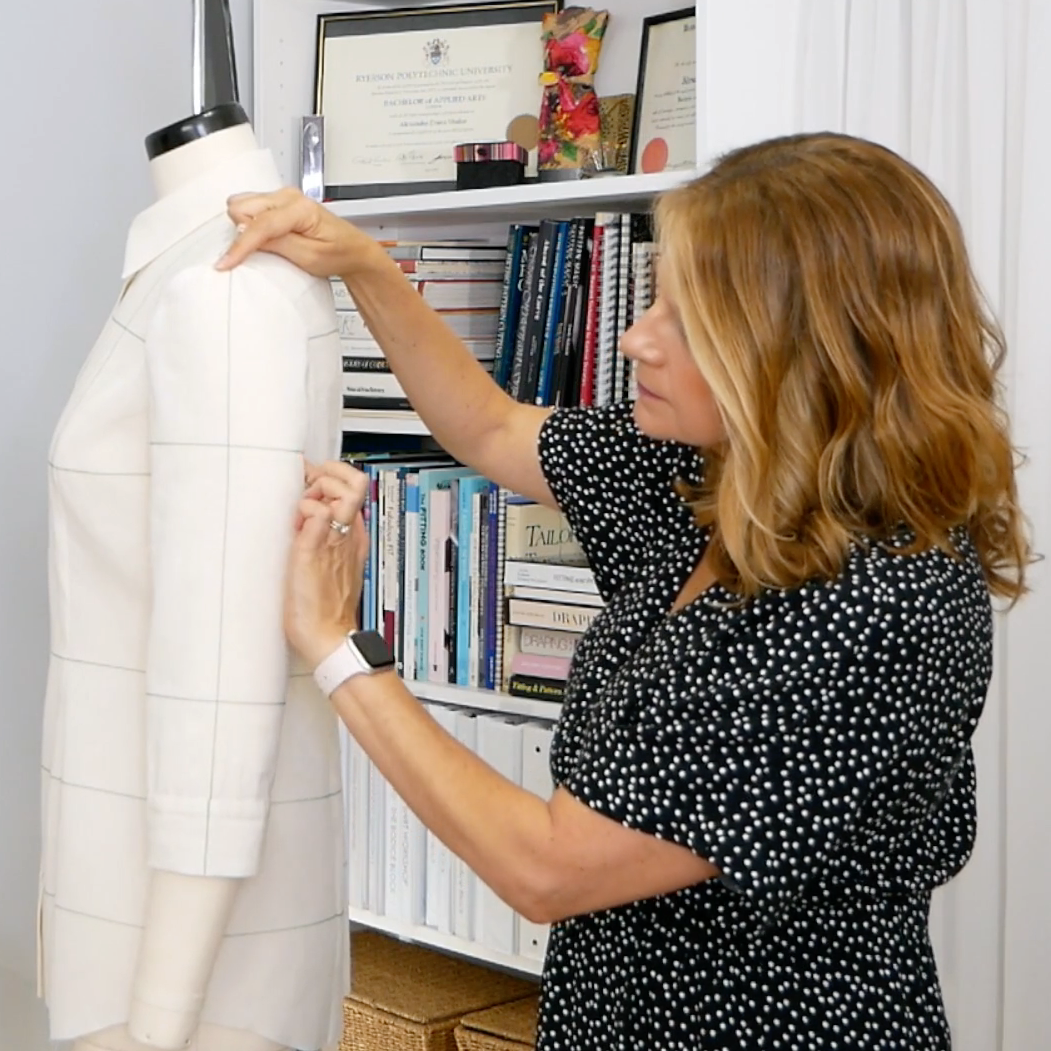
We are nearing the finish line for the Ava pattern making project. I hope you’ve been following along and doing the pattern work along with me. If you missed the previous tutorials, click the links b...
We are smack in the middle of the Ava pattern making project. I hope you’ve been following along and actually doing the pattern work with me. Working on an actual project from start to finish is the b...
Have you been following along with the Ava design project? If you missed the first video tutorial, you can watch it HERE, it will set you up perfectly to jump right in!
This week you'll learn how to...