In Fitting Fashion
Lessons, Techniques, and Inspiration for Mastering the Art and Science of Fit
If you've been struggling with getting the accurate body measurements you need to choose the correct size and fit your sewing patterns, this video is for you! Today I'm showing you exactly how I measu...
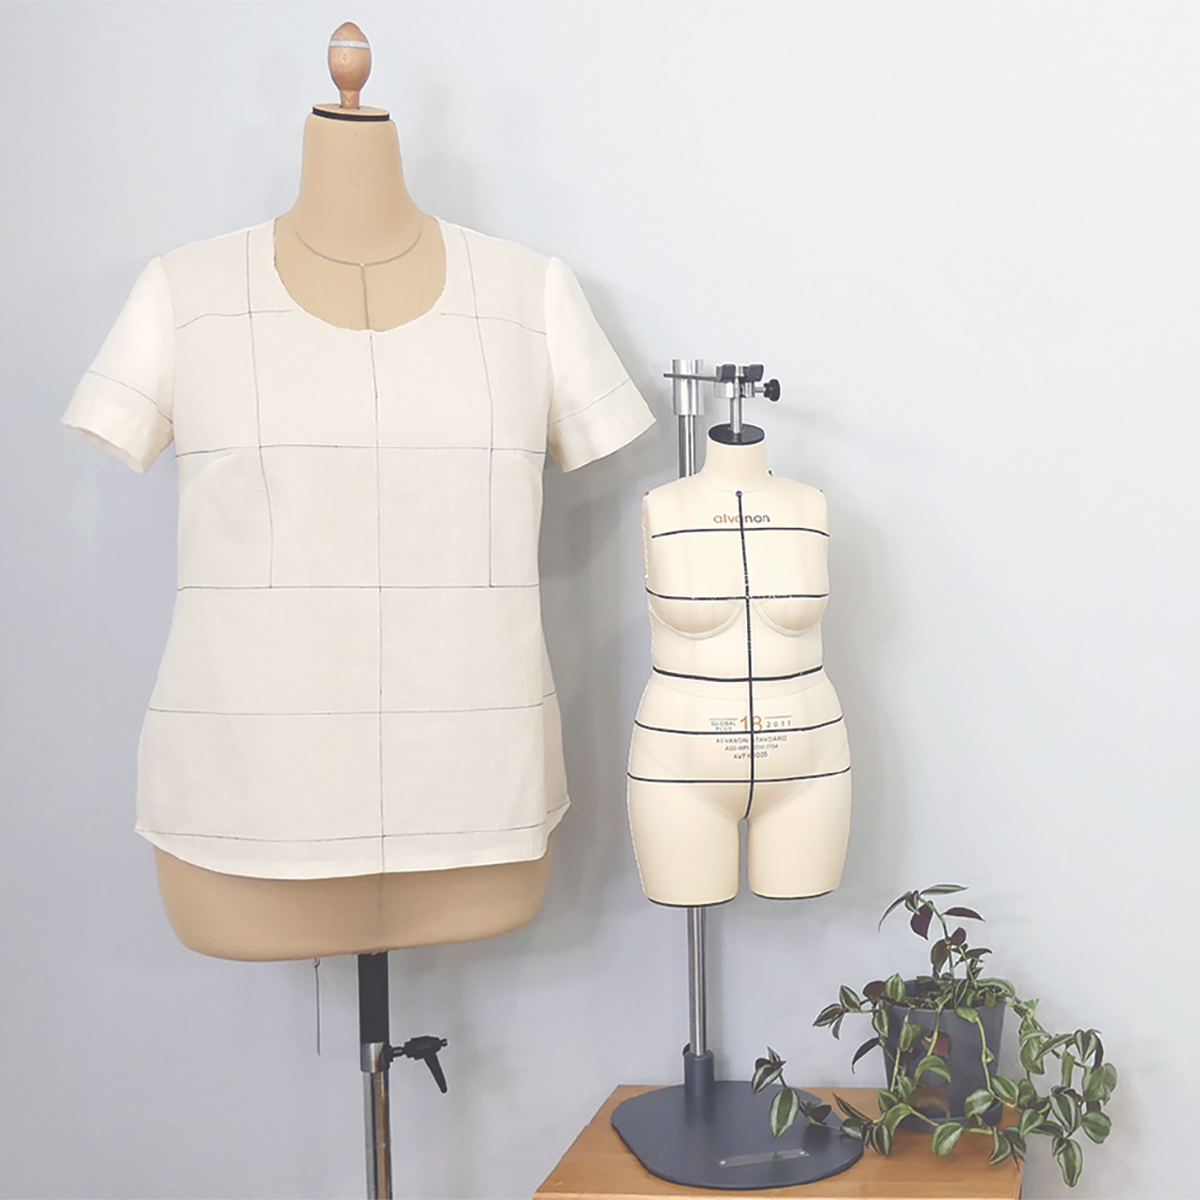
Over the past couple of weeks we've been diving deep into sleeve fitting. In the first video of the series we talked about the armhole shape and size and determined how to assess if it will be a good ...
This week is all about the sleeve and how you can determine if it's a good match for the armhole. Watch the video to get some inside information about bicep ease, sleeve cap ease and optimal cap heigh...
Most of us have experienced strange draglines, odd twisting and general discomfort on the sleeves of at least one of our sewing projects. Finding the cause and the solution can be frustrating so today...
Neckline fitting can be a challenge. If you are struggling to solve a gaping front neckline this method could be the answer. When you start drafting your own patterns or really study a patterns in dep...
Gigi asked a very good question. She suggested that her struggle with bicep girth adjustments was shared by many so in this week's video I share my reply to her email.
Watch the video now to get the ...
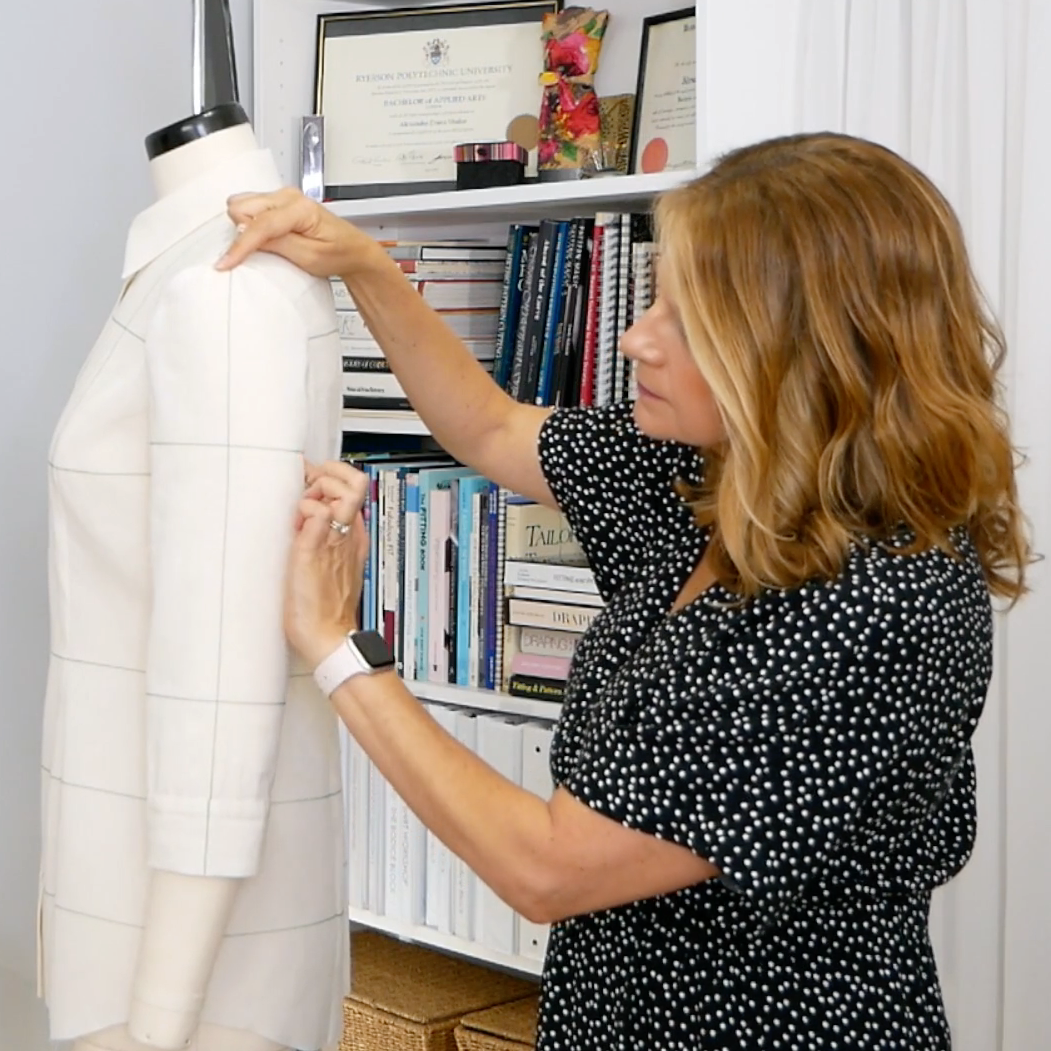
After you've made all your fitting adjustments, there's one more step before you cut your fabric: walking the sleeve pattern to confirm it still fits the armhole correctly.
This is a verification ste...
A gaping front armhole is one of the most common fitting issues I get asked about. It can look like a need for a cup size adjustment, but if the garment is fitting well below the bust line, that may n...
The back shoulder dart has an important job. It creates the volume needed to fit the curvature of the upper back and shoulder blade and that job is worth preserving.
This video is for anyone who want...
Once you've rotated a dart to a new position, the work isn't finished. The dart still needs to be trued, which means establishing clean dart legs, setting the dart point correctly, and creating a dart...