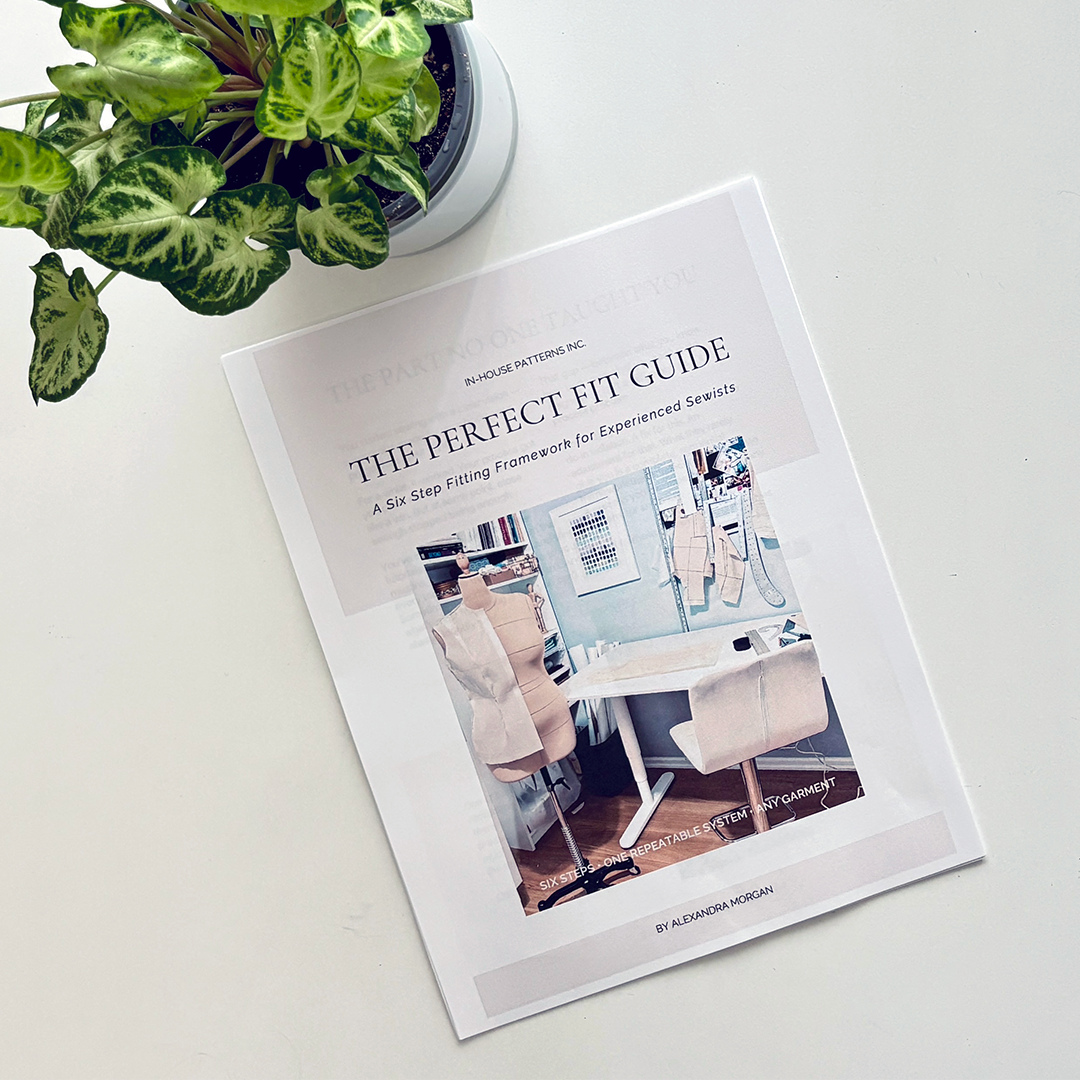
Confidently Create Garments that Fit

How to Get a Professional Finish [The Order of Operations]


We’re back on track this week! Last week we did a little side step and I showed you some throw back photos from my trip to Shanghai a few years back. If you’d like to see some photos of the sewing factory I visited and get a behind the scenes look, watch this!

This week’s video is all about what is referred to in the industry as “the order of operations”. The order of operations is essentially a set of garment assembly instructions. It is the step-by-step process of putting a specific garment together in the most efficient way possible.

In the fashion industry these sewing instructions aren’t written out in detail like they are in the home sewing industry. If they are written down at all they will look like a short bullet list of tasks, similar to how you might write a to do list.

Sewing factories divide the garment assembly process into bulk tasks. The workers who are most skilled at that particular task can then complete it quickly and...

Continue Reading...

How to Get a Professional Finish [Hints from a Factory Sewing Floor]


Last week we talked about seam allowances and how varying them can help you get a professional finish on your handmade garments. If you missed that post, you can watch it here: How to Get a Professional Finish [Seam Allowances]

This week I was going to jump right into how the order of sewing steps can stream line your sewing, but since last week’s video sparked quite a bit of interest about the fashion industry, I thought you might like to take an inside look at a factory sewing floor, so I’ve pulled out some photos from a trip to Shanghai that I did way back in 2005.

While in Shanghai, I met with our counterparts, who served as technical translators between the company I worked for and the factories who produced the garments. As a special treat they took us to visit one of the factories that produced our goods.

Watch the video to learn about garment production, get all the details of the trip and see some photos of the factory floor. 

If you enjoyed this...

Continue Reading...

How to Get a Professional Finish [Seam Allowances]


Last week we talked about how to get a professional finish on your handmade garments and I introduced you to some fashion industry techniques that you can use at home to help you achieve a high-end ready to wear look.

This week we’re diving a little bit deeper and I’m going to show you how varying your seam allowances can elevate your sewing. 

If you’ve been sewing with commercial patterns for any length of time, you’ll know that the seam allowances are generally a standard 5/8” (1.5 cm) on every pattern piece. This seam allowance definitely has its advantages and can even be a saving grace in many cases. It allows you some leeway for making fitting changes after a garment is cut, is suitable for a wide range of fabrics, and can accommodate several different kinds of seam finishes. This is smart considering pattern companies have very little to do with the type of fabric and seam finishes a sewist might choose to use on their project.

But this seam...

Continue Reading...

How to Get a Professional Finish on Your Handmade Garments


Welcome to the first video tutorial of 2019!

First of all, thank you for your time and attention to the all the tutorials I created in 2018. It is your insights, comments and questions that keep me motivated to continue, and I truly do hope that what I share is of value to you.

Today I'm answering this customer question:

“Can I actually create a garment that doesn’t look homemade?”

I’m here to tell you that the answer is a resounding YES but achieving this result has very little to do with your level of sewing experience.

You might have the impression that the more experience you have with sewing, the more professional your hand made garments will appear. This is not necessarily the case. While years of sewing experience can be extremely helpful, it is not the only ingredient to achieving a garment that doesn’t look homemade.

There are a three other very important ingredients that will take your final garment to that professional level. The first...

Continue Reading...

Plans Make it Happen - 2019

As 2019 begins to shine, I've been thinking about where to best put my time and energy in the New Year. While you may be thinking about the sewing projects you'd like to tackle, I'm planning how I'm going to serve you better this year. Looking back on 2018, there are things that I definitely want to continue to do, things that I'll be happy to give up and things that I planned to do that never got done. With these in mind, here's what I've got in store for you in 2019.


THINGS I'LL CONTINUE TO DO:

Free Video Tutorials
The video tutorials are my place to experiment with ideas, share my knowledge and connect with you. Your comments and feedback on the videos help me understand what you're struggling with and what you'd like to learn more about. They spark ideas for workshops and classes and new ways to help you make garments that you're proud to wear.

For 2019, you can expect the free...

Continue Reading...

Fitting Sleeves: How to Diagnose Sleeve Fitting Issues


Over the past couple of weeks we've been diving deep into sleeve fitting. In the first video of the series we talked about the armhole shape and size and determined how to assess if it will be a good foundation for your sleeve. In the second video of the series we talked about the sleeve itself and determined how to assess if it will fit into the bodice armhole correctly.

This week I want to demonstrate how to asses and trouble shoot the fit of the sleeve in a "real life" sample so I'm sending a big THANK YOU to Jill who has allowed me to use her photos in this video. I have no doubt that this example will help someone else struggling with fitting sleeves.

While this example is a knit sleeve, it represents the same issues that are found commonly in woven sleeves as well. Watch the video for a demonstration on how to assess the sample for fit and direction on how to adjust the pattern to follow.

Here are the links to the resources mentioned in this week's video:

The...

Continue Reading...

Fitting Sleeves: The Armhole/Sleeve Connection


Last week we talked about the bodice armhole and how to assess if will be a good foundation for the sleeve. If you missed that video you can watch it HERE.

This week is all about the sleeve and how you can determine if it's a good match for the armhole. Watch the video to get some inside information about bicep ease, sleeve cap ease and optimal cap height for a good fitting set in sleeve.

I'll also show you how to walk your sleeve to the armhole so that you can determine the sleeve cap ease and see the relationship between the armhole and sleeve seam lines. For more on walking the sleeve, watch this video: 

Quick Tips for Patterns That Fit: Take a Walk

After you've watched the video, share your thoughts in the comments below.

Next week you'll see a "real life" example of a sleeve that's not quite right and I'll share my assessment of the issues and suggest some pattern adjustments that will help to improve the fit. I hope you'll tune in.

All My Best,
...

Continue Reading...

Fitting Sleeves: The Bodice Armhole


Fitting sleeves can sometimes be even more challenging than fitting pants.

Most of us have experienced strange draglines, odd twisting and general discomfort on the sleeves of at least one of our sewing projects. Finding the cause and the solution can be frustrating so today I’d like to begin a video series all about sleeves.

I’m starting this series with one of the most important elements of a good fitting sleeve: the bodice armhole. I’m starting here because it is impossible to achieve a good fitting sleeve if the armhole it is sitting on doesn’t fit. The armhole must be the correct size and shape for your body before you can even begin assessing the sleeve. Watch the video to dive a bit deeper into what a good fitting armhole looks like and how to assess if it’s a good base for your sleeve.

After you watch the video, I'd love to know if you had any insights or ah ha moments; I hope you'll share them in the comments!

If you’re...

Continue Reading...

How to Measure Yourself


If you've been struggling with getting the accurate body measurements you need to choose the correct size and fit your sewing patterns, this video is for you! Today I'm showing you exactly how I measure myself each time I begin a new sewing project.

I'll be using The Pattern Measurement Worksheet to demonstrate the process so if you don't yet have your copy, download it here:

Once you've got your pattern measurement worksheet in hand, follow along with the video to record your own personal body measurements.

If you enjoyed this video, I'd love to hear it! Share your thoughts in the comments below!

All My Best,
Alexandra

Continue Reading...

Ask Alex: Your Questions Answered (The Fitting Ones)


A few weeks ago I sent a survey to my email list. The purpose of the survey was to get an idea about what they were struggling with so that I could be of greater service to them. One of the questions I posed was this:

If you could ask me one question regarding your struggle what would it be?

In my previous email I answered some of the more personal questions, this week I'm answering the five most common questions asked about fitting. The short hand version of the video content is below for your convenience, but if you need elaboration on any of the topics, by all means watch the video!

Here we go:

  1. Where do you start with fitting?

First, choose a simple pattern to experiment with. The Chelsea top by In-House Patterns or the Scout Tee by Grainline Studios (best for small cup sizes) is perfect for your first fitting project. The Montrose top by Cashmerette is also a good choice.

Next, choose the appropriate pattern size. To do this, determine how the...

Continue Reading...
Close