
A Guide to Your Year of Fitting Success

Fitting is generally thought to be a trial-and-error process. There is seemingly no roadmap, no sequence of logical steps to follow and no hope of ever getting a pattern to fit you. I’d like to challenge that thought because there is in fact a sequence of logical steps to follow that will lead to a pattern that fits.
If you want to know what that step by step process is and you have declared 2024 your year of fitting success, here are three things you need to do to get started:
- Download the Perfect Fit Guide (and read it). It contains the step by step process that will put you on the path to fitting success.
You’ll find the link in my bio.
- Take your body measurements.
You'll find the Pattern Measurement Worksheet inside the guide with directions on what and how to measure.
Watch this tutorial: How to Measure Yourself - Choose Your Pattern Size. Choose a simple top or dress pattern to practice on. You may already know your pattern size but I encourage you to just double check to be sure.
This tutorial might give you a new perspective:
Three Tips for Choosing Your Pattern Size
These three simple steps have walked you through step one of The Perfect Fit Guide! Complete these and you’re ready for step two!
Do you measure your pattern before you sew?
If you’re not in the habit of this, I highly recommend you start. The pattern will give you important information on how the designer intended the style to fit (so you can change it if you choose) and you’ll begin to see some of the initial changes you can make to the pattern before you sew.
Here are 3 things you can do today to build this habit:
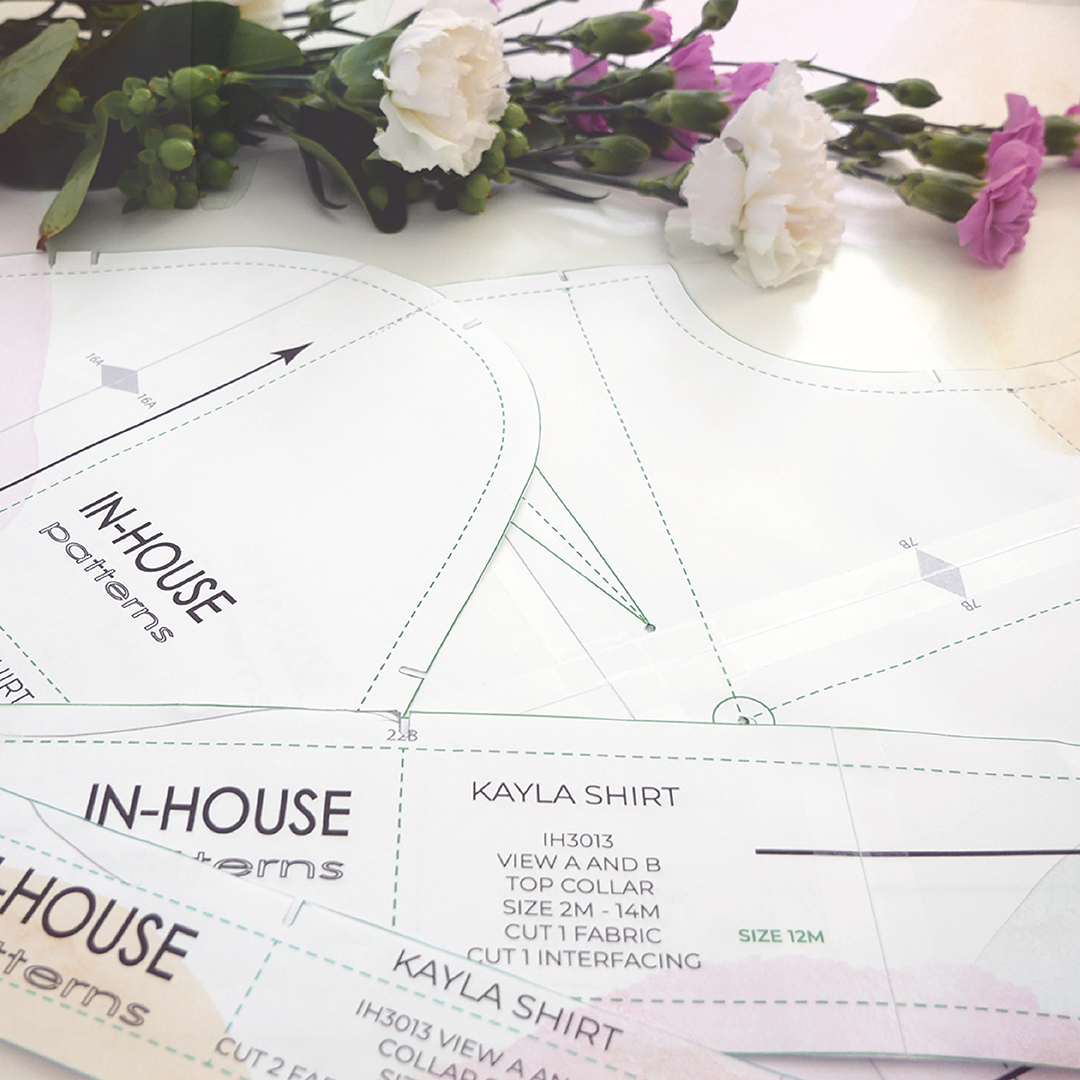
1. Find the fitting grid on a pattern.
The horizontal and vertical balance lines are the key to understanding how to alter a pattern to fit you. You’ll need to find them on your pattern before you can apply them to your sample so watch these tutorials to discover how to do that.
How to Prepare a Pattern for Fitting I
How to Prepare a Pattern for Fitting II
⇨ Looking for a pattern with balance lines already marked? ⇦
Look no further than the Lila sewing pattern. It's a mini sewing, pattern making and fitting class in one. Get more information HERE.
2. Measure the pattern and determine ease.
Even if the pattern has listed finished garment measurements, I encourage you to check the measurements for yourself. I’ve often found errors in the listed measurements so I never assume they are correct. The less guess work you do the fewer samples you need to make. Here are a couple of tutorials that just might convince you to take the time for this step:
What You’ll Learn from the Pattern Measurements
Here’s What You Need to Know About Ease
3. Make initial pattern adjustments.
These are the adjustments that are “known” and include things like bodice length, sleeve length and cup size. I’ve got two tutorials that are a “must see and hear” if you want to understand some of the adjustments you can make before you sew.
Listen: Love to Sew Podcast 197
These three action steps take you through step two and three of The Perfect Fit Guide. You are now ready for step four and five!

Fitting frustration is real.
We’ve all experienced moments of exasperation and even tears when we just can’t seem to figure out how to resolve a certain fitting issue.
The way I deal with fitting frustration is to take a break from the problem. I do this because I know that while I’m sipping some tea, or enjoying and afternoon walk, my brain is still in problem solving mode. The creative solutions you can come up with while you’re taking a break can be pretty amazing.
I can’t promise you that you won’t feel frustrated with fitting ever again, but you can reduce the occurrence of those feelings if you take a step by step methodical approach to fitting. If you’ve been following along with this weeks posts, you’ve already set yourself up for a pretty good fitting result on your first sample, but there is still some work to do.
These are your next actions steps:
1. Cut and mark the first sample.
While most people understand that making a sample is a good idea, they often skip the step of transferring the balance lines onto the fabric before sewing it up. Marking the balance lines on your sample is definitely going to make identifying the origin of any fitting issue much easier. When you know what the origin of the fitting issue is you are more likely to find a solution and keep fitting frustration at bay.
You’ll find an example of how I cut and mark a fitting sample in this tutorial:
Ava Design Project Part 5
2. Fit the sample garment.
This will be your greatest challenge so I encourage you to take you time here. Don’t rush through, be methodical in your approach. Start at the top and move down, assessing the angle and position of the balance lines on the garment. Your aim here is to adjust the sample until these lines parallel and perpendicular to the floor.
You can see an example of how to assess the garment fit by watching these tutorials:
The First Fitting Session
How to Assess Fitting Issues
These actions steps take you through steps four and five of The Perfect Fit Guide. I encourage you to follow along and watch the suggested tutorials. You’ll find lots of tips and techniques to inspire you.

Working through the fitting process in a thoughtful and methodical way not only allows you to achieve a good fit on a single project, it fuels your knowledge for all your future projects.
As you apply the process to each project you take on, you’ll gather measurement, ease and pattern adjustment information that you can use over and over again. The step by step process of fitting will become second nature and you’ll be able to fit any garment with skill and confidence. Mastering any skill takes time and experience so stay committed and don’t lose sight of your ultimate goal.
Once you’ve assessed the fit of the sample, you’ll need to apply the fit adjustments to the pattern. I share a comprehensive list of tips on adjusting and refining the pattern in The Perfect Fit Guide.
Here are three of the most important tips:
- Work from the top down.
- Make your adjustments in this order: length, contour, width girth.
- Check and true the pattern after completing pattern adjustments.
You’ll find an exhaustive list of relevant pattern video tutorials on these subjects right here on this website. If you're on a desktop computer, look for a list on the right side of this page, if you are on a mobile device, scroll down to see the list at the bottom of this page.
Here’s a couple pattern refining tutorials to start with:
How to Walk a Pattern
How to True Seam Lines
How to True Darts and Manage Large Dart Volume

You’ll never hear me say that fitting is easy but it can get easier with patience and perseverance. Taking it on in a step by step fashion will help you achieve the fit you want much more quickly, with far fewer samples. The outcome will be infinitely more satisfying.
I was once asked why I felt it was important to have a garment that fits well. Admittedly, I wasn’t really prepared for the question but I think when a garment fits well it is comfortable and you feel more like yourself when you wear it, you’re not fidgeting or thinking about the garment at all so you have the opportunity to let your personality shine.
When a garment fits, it feels like sunshine.

When is the last time you exclaimed “It Fits!”?
Joy and relief wash over you in that very moment because fitting isn’t easy. It’s not fast and it’s generally not very much fun. Fitting is part of the sewing process that we try to get through as quickly as possible so we can just get back to sewing.
At some point we all realize that sewing isn’t very much fun if the finished garment doesn’t actually fit. The response is often to just quit sewing or switch to projects you don’t have to fit at all.
Sewing can be fun again if you make fitting a priority. I encourage you to read and watch the tutorial suggestions above, I think you'll find them helpful in achieving your year of fitting success!
All My Best,
Alexandra
